How to Choose the Right Mouthpiece Adapter?
Choosing the right Mouthpiece Adapter starts with one practical question: what exactly must it connect? Adapters can bridge different instrument sizes or seating styles, but a product name alone does not confirm compatibility. Check the instrument model, mouthpiece dimensions, and manufacturer’s fit chart before ordering. Measure the opening carefully. A few millimeters matter. A secure fit should sit evenly, without wobble, visible gaps, or force. If the adapter needs heavy pressure, stop and recheck the size. Forcing a connection may damage a rim or create an unreliable seal.
Material and shape can affect comfort, durability, and how the assembly responds during use. Metal may feel firm, while a flexible material can allow some tolerance; neither suits every setup. Inspect the edges for burrs and make sure the surfaces are clean and smooth. If product specifications conflict, ask the manufacturer or a qualified instrument technician. That is sensible, not overcautious. There is no universal best adapter; the right choice depends on fit, intended use, and care. Reviews can help, yet details vary. An adapter that works well for one player may sit poorly on another instrument. Keep the packaging until you have tested the fit gently, and follow the maker’s cleaning instructions. Small checks matter. Appearance alone is not proof of compatibility, though it is an easy assumption to make.
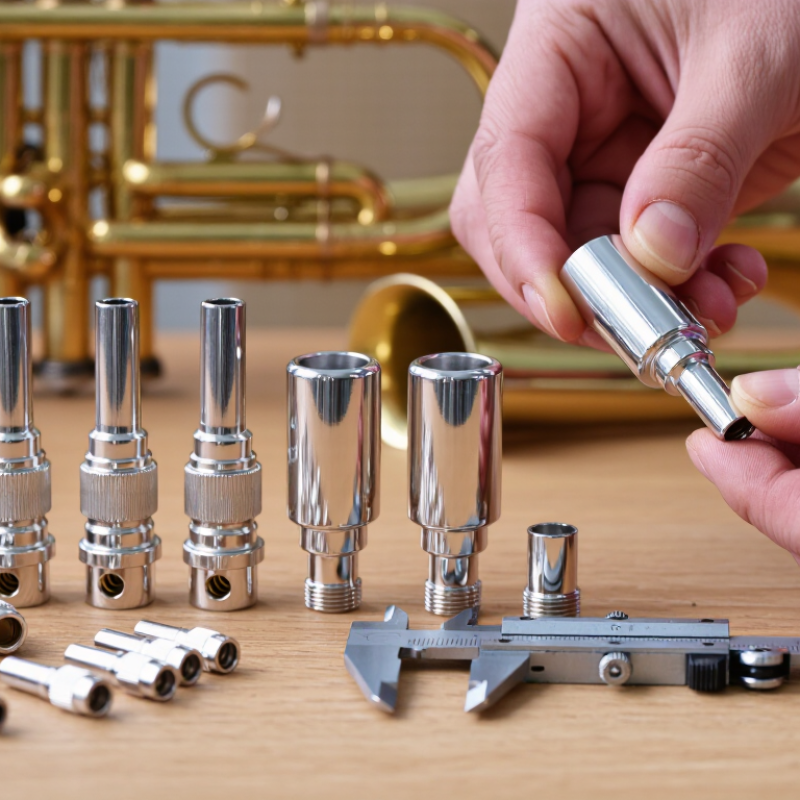
Understanding Mouthpiece Adapters and Their Uses
How to Choose the Right Mouthpiece Adapter?
Understanding Mouthpiece Adapters and Their Uses
A mouthpiece adapter connects a mouthpiece to an instrument or fitting that does not match directly. It can help accommodate different sizes, shapes, or connection styles. The right adapter should sit securely without forcing either part. A loose fit may allow air to escape, while a tight one can strain the connection. Check the measurements and connection type before choosing. Small differences matter.
Tips: Compare both ends. Measure carefully. If possible, test the fit gently, without twisting or pushing hard.
Use also matters. An adapter for occasional practice may have different needs from one used for frequent rehearsals. Consider the material, weight, and how easily the adapter can be cleaned. Smooth surfaces are simpler to wipe down, but inspect the inside too. Residue can collect where the adapter narrows. A snug fit is useful, but it is not the only measure of quality. Some combinations may change how the instrument feels or responds. That part is easy to overlook, and a quick test may reveal more than a product description. If the fit remains uncertain, ask a qualified instrument technician to check compatibility before regular use.
Identifying Your Instrument and Adapter Type
How to Choose the Right Mouthpiece Adapter?
Identifying Your Instrument and Adapter Type
Start by identifying the instrument that will receive the mouthpiece. Check its make and model, then consult its manual or a reliable parts guide. Instruments that look similar may use different receiver sizes. Measure the opening carefully if specifications are unavailable, and note whether it is straight, tapered, or threaded. Never force a part into place. A small mismatch can affect stability and sound.
Next, identify the adapter’s two ends: one must fit the instrument’s receiver, and the other must match the mouthpiece shank. Adapter descriptions may use terms such as inner diameter, outer diameter, or taper. Confirm which measurement refers to each end before ordering. A snug fit is useful; pressure or wobbling is not. If measurements fall between listed sizes, pause and ask a qualified repair technician. Guessing can damage a delicate receiver, and online size charts do not always explain how measurements were taken.
Tips: Write down the instrument model and both opening measurements. Compare them with the adapter’s specifications, not just its product photo. Check that the adapter sits evenly and can be removed without twisting hard. If the fit feels uncertain, stop and verify it. One overlooked detail can make an otherwise suitable adapter frustrating to use.
Checking Size, Fit, and Material Compatibility
A mouthpiece adapter should fit both the mouthpiece shank and the instrument’s receiver without pressure. Check the manufacturer’s sizing chart, then measure the shank diameter and insertion depth with calipers. A difference of a fraction of a millimeter can cause wobble or a poor seal. Don’t rely on appearance alone. Adapters can look nearly identical.
Material matters, too. Compare the adapter’s material with the instrument’s receiver and consider how both surfaces will contact and wear. Smooth, well-finished metal is often suitable for metal receivers, while some instruments use plastic or other materials that may scratch or deform under pressure. Check care instructions and any known sensitivity to particular metals. A soft cloth can help you inspect the surfaces for burrs, residue, or dents before fitting.
Test the fit gently, with the instrument unassembled and clean. It should seat evenly and come out without twisting hard. Stop if you feel resistance. I’ve learned that a worn receiver can make a correct adapter seem loose, so the adapter is not always the problem. If the fit remains uncertain, ask a qualified repair technician to check the dimensions and condition. One missed detail can matter.
Comparing Design Features and Playing Requirements
A mouthpiece adapter is a small interface, but its bore, taper, and seating depth affect fit and alignment. A straight, close-fitting design prioritizes a direct connection. An angled or stepped design may solve clearance problems, but can add length and another joint. Check the instrument’s receiver dimensions, material compatibility, and cleaning access. A polished finish is not proof of a better seal.
Playing requirements matter as much as geometry. Brass players may notice changes in resistance, articulation, or hand position; bore mismatch can also affect response. Test your usual passages at soft and loud dynamics, then check for leaks, wobble, and fatigue after a full rehearsal. Small differences can be hard to separate from player adaptation. I would avoid calling any adapter “better” without a controlled comparison. The WHO’s 2021 World Report on Hearing estimates that over one billion young people risk hearing loss from unsafe recreational listening. Loud rehearsals also call for sensible exposure management.
Tips: Bring your own mouthpiece. Test the adapter on your instrument. Listen. Recheck.
Selecting and Testing the Right Mouthpiece Adapter
Selecting and Testing the Right Mouthpiece Adapter
Choose an adapter by checking its dimensions, connection type, and intended use. A few millimeters can affect fit. Measure the opening and insertion depth with calipers, then compare them with the equipment specifications. Look for smooth edges and a stable connection, without forcing parts together. A secure fit should not wobble or leave obvious gaps. Materials matter, too; choose one suited to the expected temperature, cleaning routine, and contact requirements.
Tips: Test the adapter with the equipment turned off or unused. Attach it gently, then check for movement, pinching, or an uneven seal. If airflow is relevant, compare resistance with the original setup. Stop if you notice sharp edges, unusual odor, or discomfort. Small details count.
A first check can seem convincing, but one brief test is not enough. Repeat the fit check after cleaning and reassembly, since residue or a slightly shifted part can change the connection. If possible, ask a qualified technician to inspect uncertain dimensions or compatibility. Keep notes on measurements and any looseness; memory is less reliable than a quick written record. I would not treat a snug fit as proof of safety. Confirm compatibility with the device instructions before regular use.